
Mr Johan de Vries
Brass inlay on veld wood
How muted brass lines sit in hardwood trays without looking like jewellery.
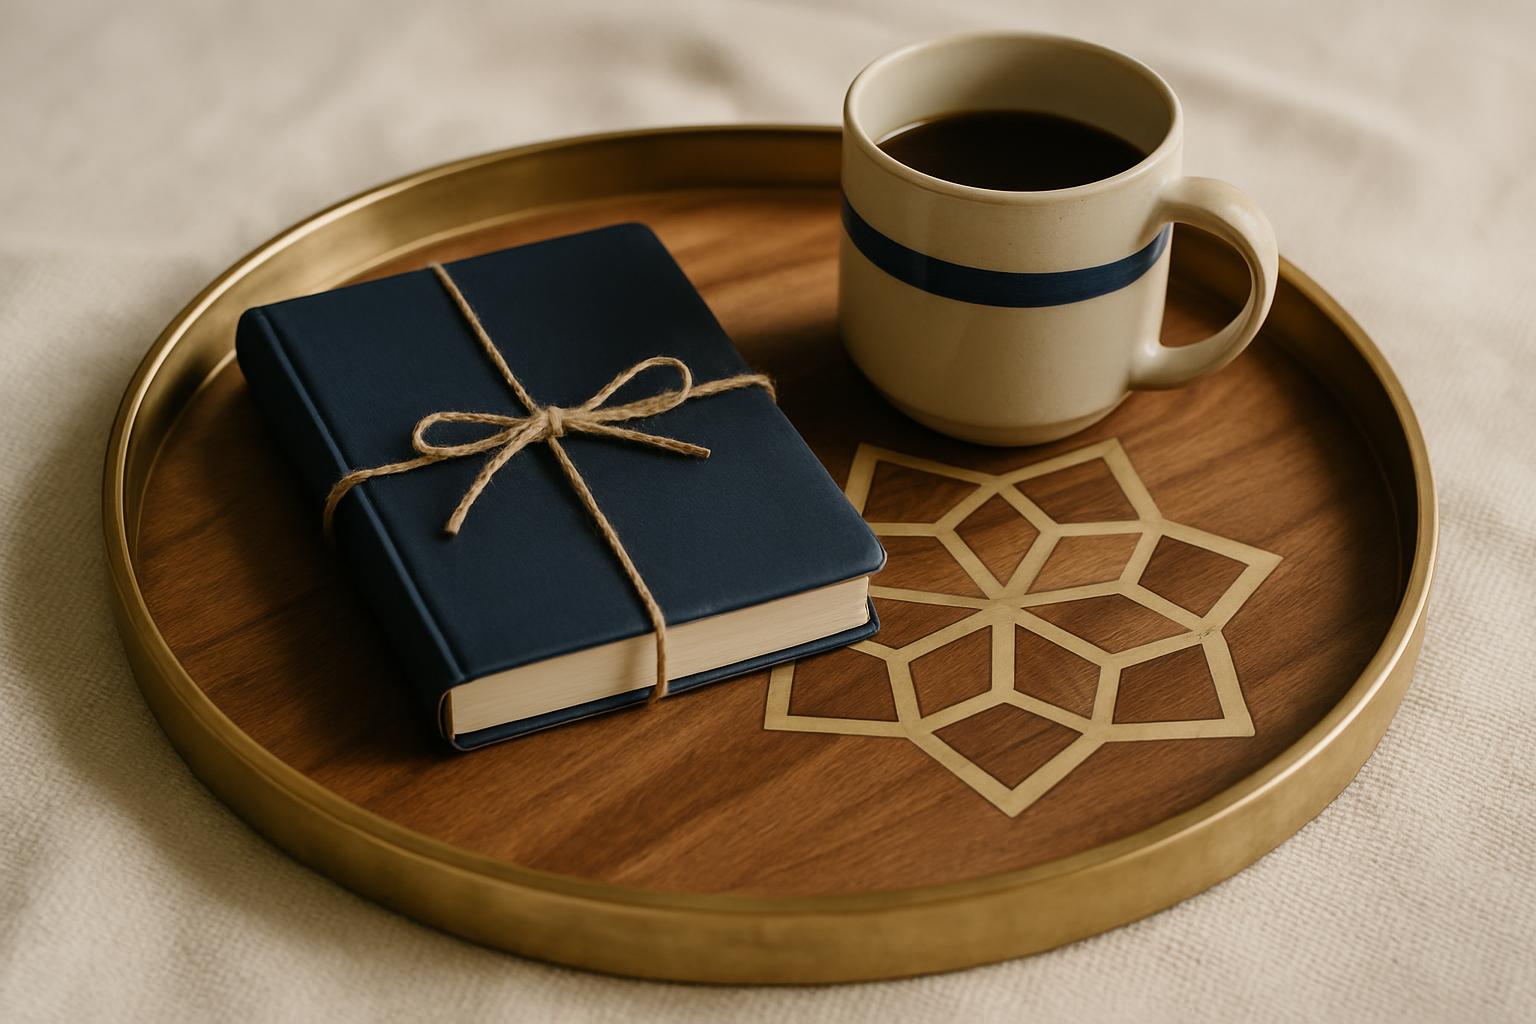
Brass inlay on veld wood is a satisfying challenge. At the atelier in Woodstock, we strive to let materials speak for themselves, and the Veld Tray is one place where that thinking guides every step.
Read it alongside the Veld Tray page.
Choosing the Veld wood and Brass
For the Veld Tray, we source local hardwoods like kiaat, white stinkwood or even wild olive, all kiln-dried to keep movement minimal once the tray is in a Durban lounge or a Karoo stoep. We inspect each plank to avoid knots or splits that might later threaten a smooth brass line. The brass itself is a flat strip, slightly muted so that it does not shout 'ornament', it should look integral, almost geological, not like something pinched from a bangle display.
If the grain is too wild, the eye gets distracted and the inlay feels out of place. Too plain, and the brass looks like an afterthought. We weigh up colour and grain carefully, pairing a tray that’ll live in a Winelands tasting room with a different timber to one destined for a Joburg co-work’s coffee area.
The CNC cut and inlay process
After rough cutting and planing, we scan the tray blanks for warping. The CNC router is programmed to carve out parallel inlay channels, 1.5 mm deep, just wide enough for the brass strip. It has to be precise: too shallow and the brass lifts, too wide and the glue line shows.
Each brass strip is cleaned of oil residue and pre-bent to match the slight curve of the tray if needed. We press it into the milled groove with slow-setting epoxy, weighting the tray overnight so the brass sits flush. A finger test the next morning should find no edge, it’s got to feel like one material, fused.
- Inspect each inlay for gaps before sanding.
- Sand flush by hand, never machine, to avoid heat stains on the brass.
- Oil the whole tray with a matte finish so the brass sits quietly under the surface.
Common pitfalls: learning from our mistakes
We have learned that rushing the glue-up leads to air pockets under the brass, which become visible in the Lowveld’s humidity when wood moves. In one early batch, a tray left too close to the workshop’s open roller door picked up grit that later scored the brass during sanding. Now, every step happens in a clean, designated bay.
Another lesson: some clients want the brass super shiny. We discourage polishing past a muted finish, because a high gloss shows every fingerprint, especially if someone’s just poured a glass of MCC.
We also had one tray warp after three weeks in a Cape southeaster, reminding us to always orient the grain with the longest side. The tray needs to look as good after two seasons on a wine estate’s deck as it did in the studio.
Caring for brass-inlaid trays in real life
The Veld Tray is designed for daily use, whether it’s moving flat whites on a breezy Pretoria patio or carrying snacks to a braai room. Brass and timber expand and contract at different rates, so we oil the wood to slow down moisture absorption and recommend wiping it dry if it ever gets soaked.
We advise against submerging the tray or scrubbing with harsh pads. Brass will mellow and darken with time, which suits the South African light. If wine or coffee spills, just a quick wipe with a soft cloth is enough. If in doubt, clients can always email atelier@creationafrica.co.za for care advice.
Where to go next
See the Veld Tray specs, then the install notes. For a full room brief, the Hospitality lodge or Cafe objects studio pages walk through a visit week. Finish samples live under finishes, and you can book a sample hour at a showroom.